Vegan Chocolate Ganache Cake

This recipe is based on a recipe from my cooking class at Rouxbe Cooking School.
Despite what you might think, vegan baking is EASY. Also, most of the flavor in desserts does not come from the animal products so you can rest assured that vegan desserts are often just as good as the animal based variety. Except, I enjoy vegan treats much more because they digest better!
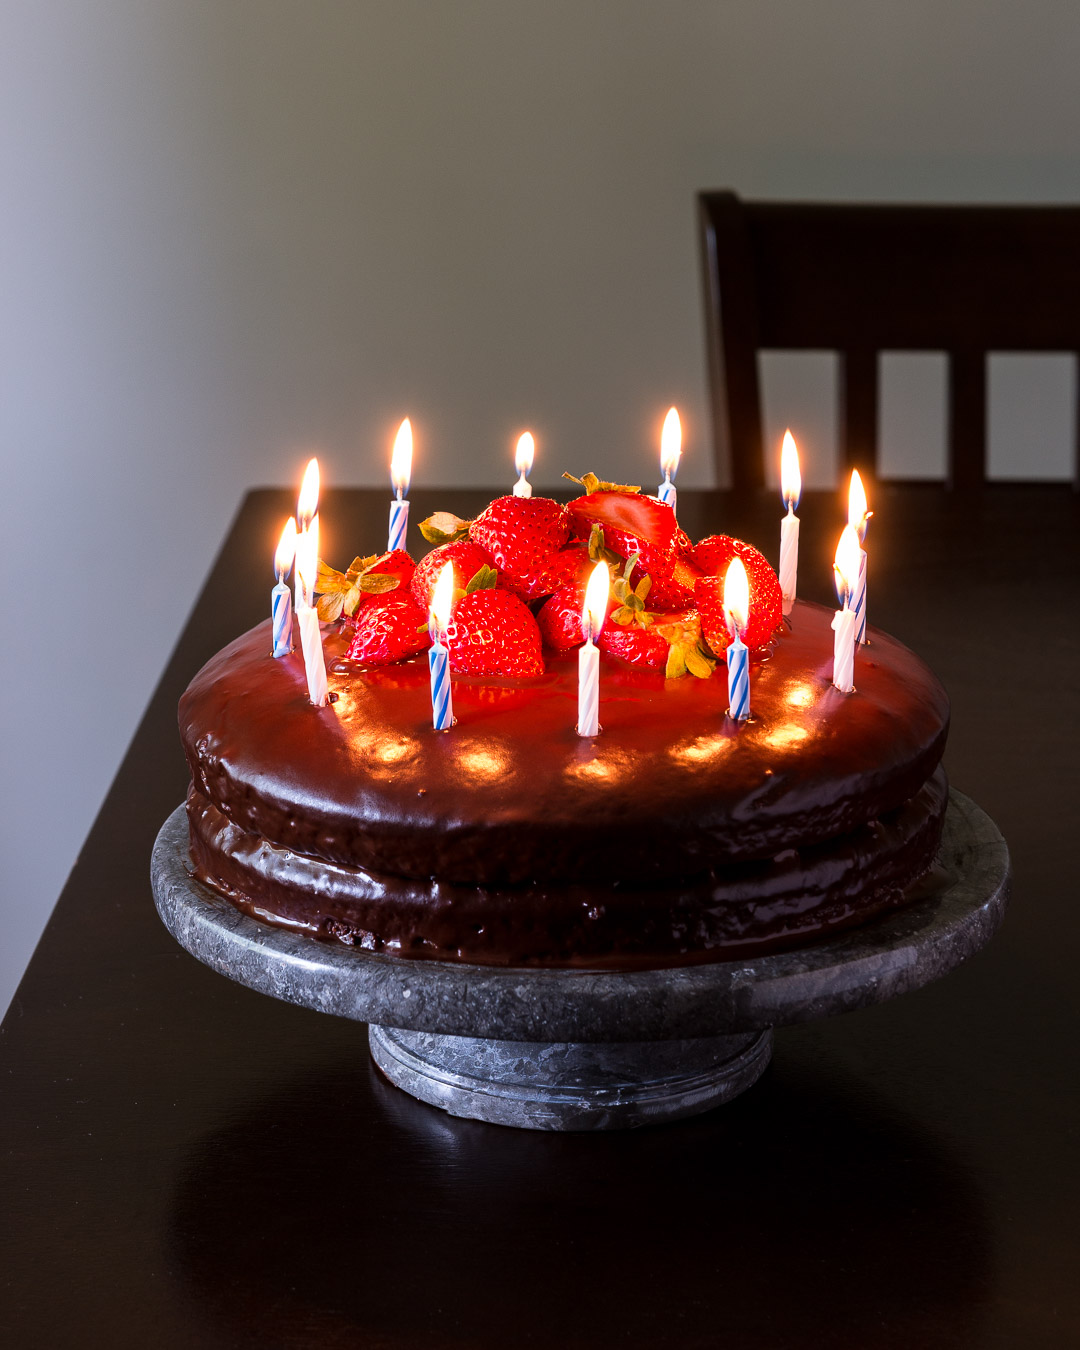
I made this cake for my birthday! Scroll all the way to the bottom of this page for the picture with the candles if you'd like to see. You have a few options for how you want the ganache to look, I included that information below. Cake baking is as much about technique as it is about the recipe so do everything EXACTLY how I say.
Ingredients
Cake:
- 2 1/2 cups all-purpose flour
- 2 cups sugar
- 1 tsp salt
- 2/3 cup cocoa powder
- 2 tsp baking powder
- 2 cups coffee
- 2/3 cup vegetable oil
- 2 tsp vanilla extract
- 2 tsp vinegar (apple cider or distilled white vinegar)
- Parchment paper
- Two 9″ × 2″ -inch non-stick cake pans
If you are looking for an oil-free baked treat, check out my chocolate peanut butter cupcakes by clicking here!
Note: Be sure that your baking powder is less than 6 months old!
Ganache:
- 3/4 lb dark chocolate (12 oz or approx. 2 cups) min. 54% cocoa mass, coarsely chopped - Check the ingredient label to make sure cow's milk is not an ingredient. (I used a chocolate with 70% cocoa mass for my cake)
- 1 cup full-fat coconut milk
- Plastic wrap
Directions
Prepare the Ganache:
Chop the chocolate into small pieces and place it into a heat-proof bowl, stainless steel works well.
Place the coconut milk in a small saucepan over medium heat and bring to a gentle boil. Pour about 3/4 of the mixture of the hot milk over the chocolate. Begin whisking the mixture, the chocolate will melt as you stir. Your chocolate should get to a point where it is thick, but still pourable like chocolate syrup. If your mixture is too thick, add the rest of the coconut milk. I added a touch more coconut milk to mine (more than a cup) which thinned out the mixture and gave the cake that "dipped in chocolate" look, totally optional!
Cover the bowl with a piece of saran wrap, you will want to press the saran wrap right up against the surface of the ganache, this prevents a hard crust from forming at the top as it cools. Set aside while the cakes finish cooling.
To Bake the Cake:
Preheat the oven to 350° F (175°C). Use an oven thermometer to double check the temperature after it is preheated
Prepare two 9″ × 2″ -inch non-stick cake pans by spraying them with non-stick spray. Lightly coat the inside for the pan with flour (including the sides). To do this, add a couple tablespoons of flour to the pan. Tap the pan and move it around so distribute the flour evenly, you should notice that the flour sticks to the pan. When the coating looks even, tap the excess flour into the sink or trash can.
Next, use a pencil to trace the bottom of your cake pan on a sheet of parchment paper. Using scissors, cut out the circles of paper that should then fit perfectly into your pan. Place a round of parchment paper into each of your pans after greasing and flouring. After this preparation, your cakes will slide out very easily after baking!
Sift the flour, sugar, cocoa powder, baking soda and salt into a large mixing bowl. Whisk until evenly combined.
Combine the coffee, oil and vanilla in a medium mixing bowl.
*Make sure that when baking you use different bowls for wet and dry ingredients. This allows for more even mixing, and depending on the recipe it will prevent you from activating your rising agent (baking powder or baking soda) too early!
Pour the wet ingredients into the dry ingredients and whisk vigorously to evenly combine. Add the vinegar and stir to blend well.
Pour an equal portion of the batter into each of the prepared baking pans. Immediately transfer to the preheated oven.
Bake for approximately 30 minutes or until a tester comes out clean or with a few moist crumbs attached.
Remove from the oven and place onto a wire cooling rack for about 10 to 15 minutes or until cooled slightly. Invert the cakes out onto a cooling rack, remove the pans and let cool completely before icing. - This step is important for the perfect cake presentation. However, I rushed both ganache and the cake cooling but whatever, know that it will still be delicious regardless!
Build the cake:
Remove the saran wrap from your ganache and whisk it. You can ice this cake while the ganache is still a bit soft and runny, or you can cool it a bit longer or place in the refrigerator for very thick icing. If it gets too thick, just warm it up a bit. Thicker icing will allow you to fill in the gaps between the cakes so that you have straight sides. The icing on my cake was on the thin side because I added a touch of extra coconut milk and I didn't allow it to cool for very long. Thinner icing gave it a very cool "dipped in chocolate" look though so you have a lot of creative options here!
If your cakes have baked into a dome shape, slice a bit off of the dome to make an even top. - I liked the dome look for the top of my cake so I only did this for the bottom cake so that it would stack evenly.
Using an offset spatula, begin icing the cake by placing a large dollop of ganache in the center and spread it around evenly. Carefully place the second cake on top, crumb-side down if you sliced off the dome of the top cake in the previous step. To finish decorating, ice the top and sides of the cake with the remaining ganache and serve.
Chill and store this in the refrigerator. The chocolate will harden a bit and the contrast in texture is delicious!
Serve
Serve with strawberries, cashew based vanilla ice cream, and a cup of almond milk (I used store bought) to wash down the decadence.
Here's the picture of the cake with birthday candles :-)